


Settings is where you configure how your clinic works. Most of this is set up once and updated occasionally. This guide covers each section.
Clinic Profile (Branch Settings)
Your Clinic Profile holds each branch's core information — and it does double duty: once it's complete, it powers a ready-made public clinic page and an online booking link for that branch. A completion bar at the top shows how far along the profile is, and the page only goes live once the required fields are filled.
The fields
| Field | What it's for |
|---|---|
| Clinic name / Branch name | Shown at the top of your public page. |
| Logo | Your branding on the public page. |
| Slug (required) | The web address of your public page and booking link, e.g. eazyclinic.io/clinic/your-slug. |
| About us | A short description shown on the public page. |
| Phone number (required) | Contact number shown on the public page. |
| Email (required) | Contact email shown on the public page. |
| Opening hours | So patients know when you're open. |
| Services offered (required) | The services listed on your public page — add at least one. |
| Accepted insurance providers (panels) | The panels you accept, shown to patients. |
| Branch address (required) | Shown on the page and used for directions. |
| Google Maps embed | Adds a map so patients can find you. |
| Google review widget | Shows your Google reviews on the page. |
| Consultants to display (required) | Which consultants appear on the page — and who patients can book. |
| Social media | Links to your social profiles. |
Required to publish
Six fields must be filled before the public page and booking link go live: Slug, Phone number, Email, Services offered (at least one), Branch address, and Consultants to display. Until they're all in, the profile still saves but the page stays hidden. The completion bar shows what's still missing — and the more of the optional fields you add, the richer your page looks.
What you get once it's complete
- A public clinic page — a professional page at
eazyclinic.io/clinic/<your-slug>showing your details, services, opening hours, map, Google reviews, and bookable consultants. Use the View Page button to open it, then share the link or add it to your Google listing. - An online booking link — an embeddable appointment page at
eazyclinic.io/embed/clinic/<your-slug>/appointment. Paste it into your own website or share the link so patients can book appointments themselves. Bookings from new patients arrive as Pending for your front desk to confirm and register — see the Appointments guide.
If you run multiple branches, each branch has its own Clinic Profile, public page, and booking link.
Your account
- Profile — your personal details as a user.
- Password — change your password.
Pricing Tiers
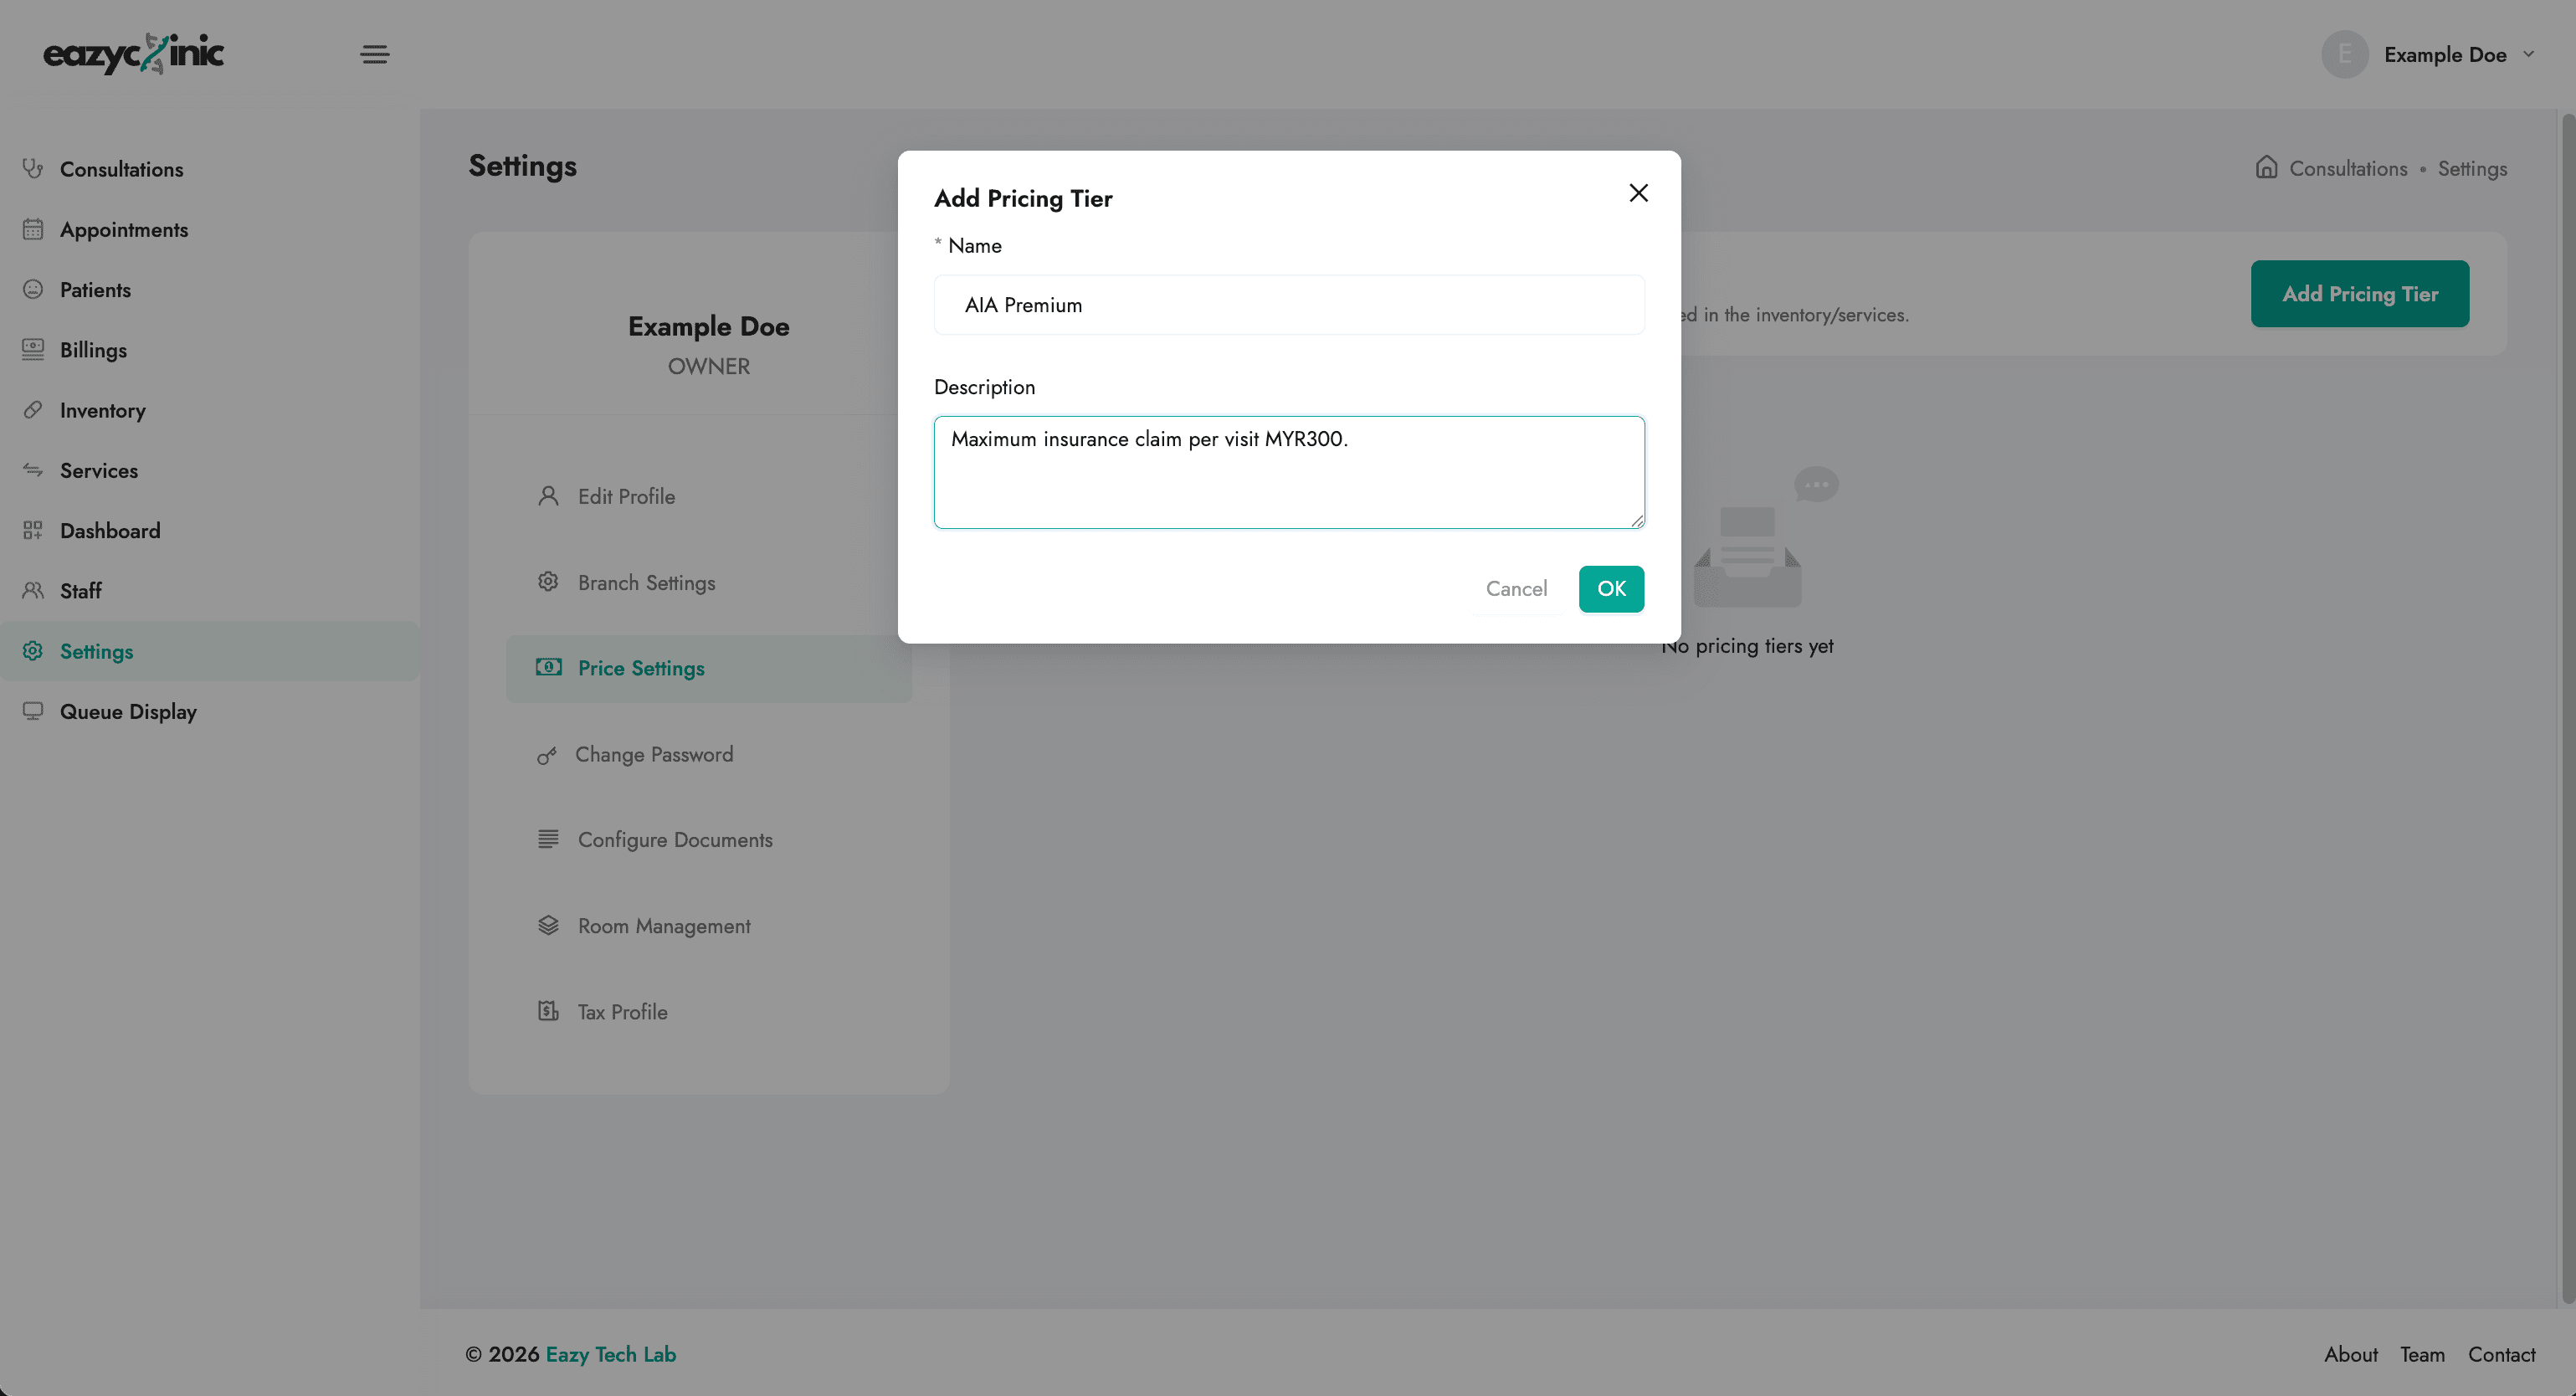
Price tiers let you charge different rates for different patients — for example, a specific insurance panel versus a walk-in cash rate.
- Go to Pricing Tiers and click Add Pricing Tier.
- Name the tier (for example, the panel or plan name).
- Save it.
Once a tier exists, you can set a price for it on each of your services and medications. During a visit, EazyClinic charges the price that matches the patient's tier. A patient's tier is remembered from their last visit and can be changed per consultation.
Tax Profiles
Tax profiles hold the business details used on LHDN e-invoices. Add a profile with your:
- Business Name
- Tax Identification Number (TIN)
- Business Registration Number (BRN)
You can keep more than one tax profile if you invoice under different entities. These are the supplier profiles you choose from when submitting an e-invoice — see the E-Invoicing guide.
Rooms
Set up the consultation rooms at each branch so your team can call patients to a specific room. Add a room with a name and mark it active. Rooms appear when you use Call to Room in the queue.
Document Configurator (templates)
Create reusable templates for the documents you hand to patients — medical certificates, referral letters, and more. When you generate a document during a visit, EazyClinic fills in the details for you using dynamic variables you place in the template with double curly braces, for example {{patient.firstName}}.
Available variables include:
- Patient:
patient.firstName,patient.lastName,patient.dateOfBirth,patient.gender,patient.idNumber,patient.contactNumber - Consultation:
consultation.id,consultation.notes,consultation.visitingNotes,consultation.date,consultation.time - Medication:
medication.table(inserts the prescribed medications as a table) - Consultant:
consultant.name,consultant.title - Clinic:
clinic.name,clinic.logo,branch.name,branch.address,branch.contactNumber - Date:
date.fullDate,date.day,date.month,date.year,date.time - Dynamic (you fill in at generation time):
dynamic.note,dynamic.followUp,dynamic.instructions,dynamic.comments
Build the template in the editor, insert the variables you need, and save. The template is then available to pick during any consultation. See Consultations for generating documents.
Notifications
Turn notification and activity preferences on or off to control what your team is alerted about.
Related guides
- Getting Started — roles and branches.
- Inventory and Services — where price tiers are applied.
- E-Invoicing (LHDN) — where tax profiles are used.
![[object Object] icon](/_next/static/media/whatsapp-logo.faecda2e.svg)