


This guide covers the basics: signing in, setting up your clinic, understanding who can do what, and finding your way around.
Signing in
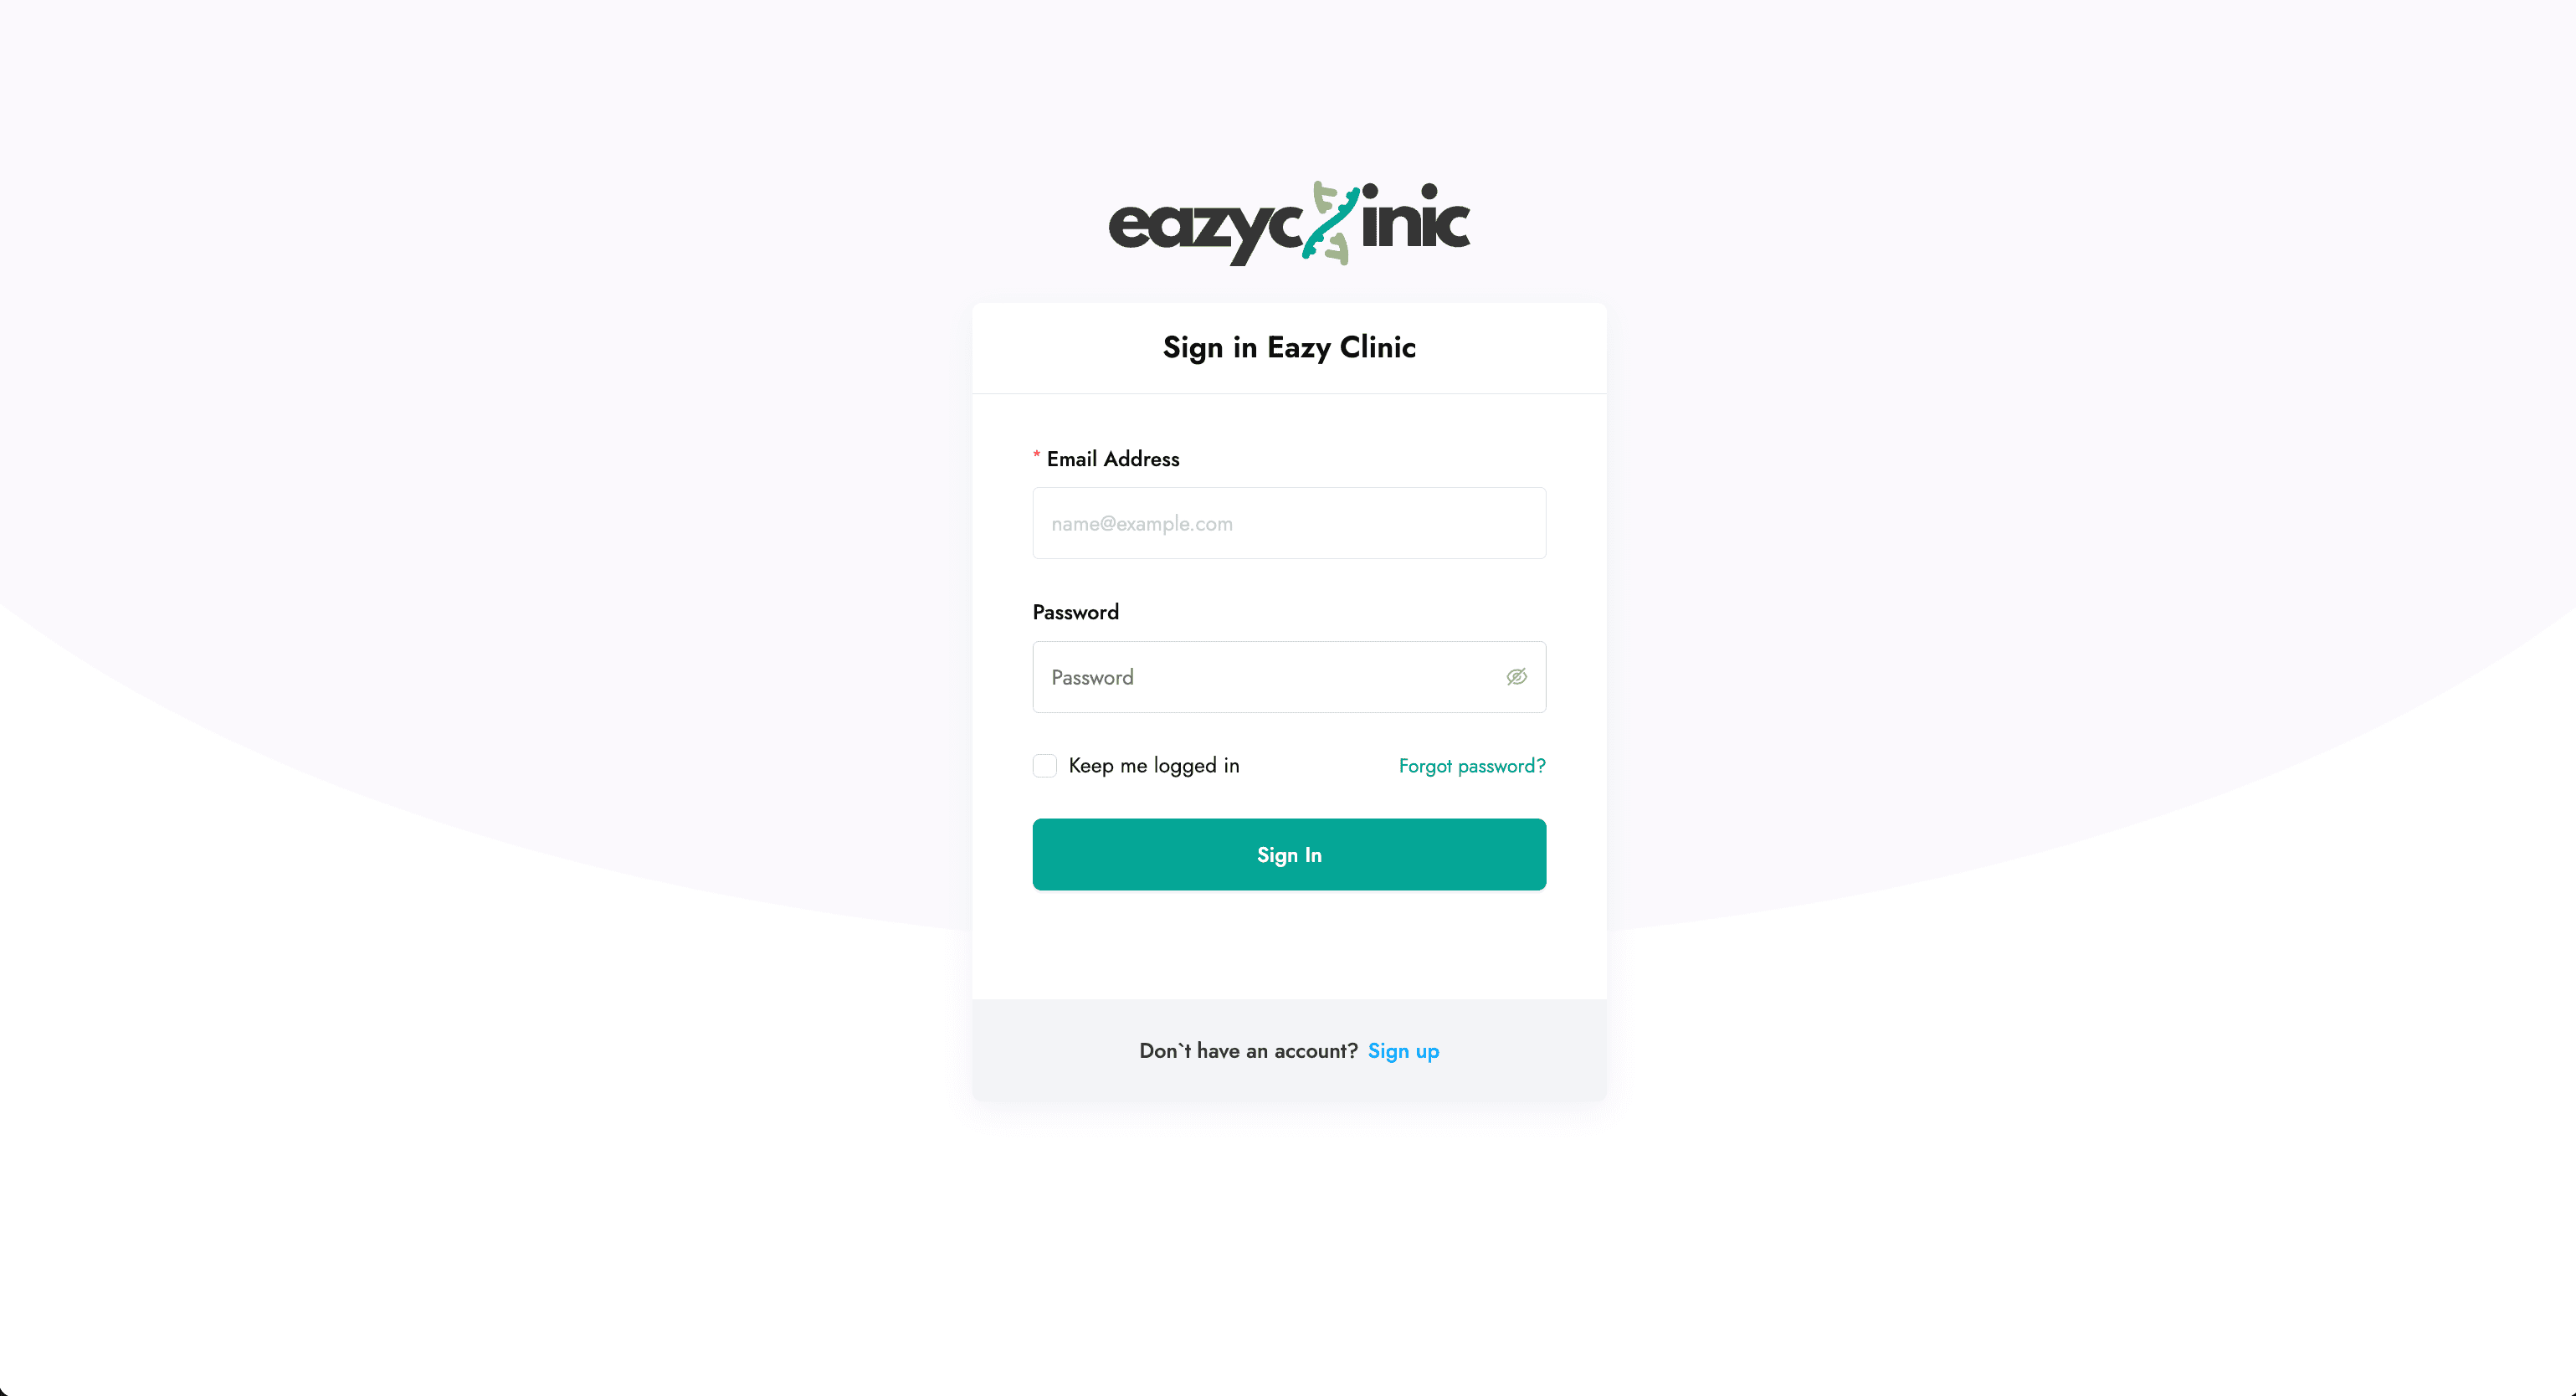
EazyClinic runs entirely in your web browser. Open your clinic's EazyClinic address and sign in with your email and password.
- New to EazyClinic? Use the sign-up link to create an account, then follow the onboarding steps below.
- Forgot your password? Use the "Forgot password" link on the login screen to reset it by email.
- Invited by your clinic? Open the invitation email and follow the link to accept the invite and set your password.
You'll also verify your email address the first time — check your inbox for the verification message if prompted.
Setting up your clinic (onboarding)
The first time the clinic owner signs in, EazyClinic walks you through a short onboarding to create your clinic and your first branch. You'll provide your clinic name and basic details. Once that's done, you land in the main app.
You can refine everything you entered later in Settings → Clinic Profile (clinic name, logo, opening hours, address, services, and more). See the Settings guide.
Branches
A single EazyClinic account can run more than one branch (location). If your clinic has multiple branches, you'll choose which branch you're working in after you log in. Your current branch determines things like which rooms, inventory stock, and queue you see.
To switch branches, use the branch selector in the app.
User roles
EazyClinic has three main roles that control what a person can do:
| Role | Typical user | Access |
|---|---|---|
| Owner | Clinic owner / administrator | Full access, including settings, staff, pricing, and reports |
| Consultant | Doctor or practitioner | Runs consultations, sees patients, writes prescriptions and notes |
| Staff | Front-desk / reception | Registers patients, manages the queue, appointments, and billing |
The Owner is the person who created the account. Owners invite everyone else and assign them a role of Consultant or Staff — see the Staff guide.
Finding your way around
After you sign in, you'll see the sidebar on the left. These are your modules, in the order you'll typically use them:
- Consultations — the default screen; your live list of patient visits.
- Appointments — the booking calendar and appointment list.
- Patients — search, register, and open patient records.
- Billings — bills, payments, and revenue reports.
- Inventory — your medication stock.
- Services — the services you offer and their prices.
- Dashboard — analytics on revenue, patients, and consultations.
- Staff — your team.
- Settings — clinic profile, pricing, tax profiles, rooms, document templates, and more.
- Queue Display — the full-screen "Now Serving" screen for your waiting room.
A typical day
Here's how the modules fit together for a walk-in patient:
- Reception registers or finds the patient and starts a Consultation — the patient joins the Queue.
- When a room is free, reception calls the patient to a room.
- The Consultant records vitals and notes, prescribes medications, and adds any services.
- The visit moves to Checkout, where the bill is reviewed and payment is taken.
- If needed, an e-invoice is submitted to LHDN.
- The consultation is marked Completed.
Each of these steps has its own detailed guide. A good next stop is Consultations.
![[object Object] icon](/_next/static/media/whatsapp-logo.faecda2e.svg)